Saturday, November 5, 2011

November 5 - Bean Bags

I'm very excited about today's project. Bean bags are fun for any age! I want to have a few sets so I can use them when we have friends over for backyard BBQ's in the summer, and I also think bean bags are a good teaching tool for kids. Not only can they work on their motor skills, but if you have a bunch of different bean bags, you can use them to teach kids colors, shapes, and patterns.

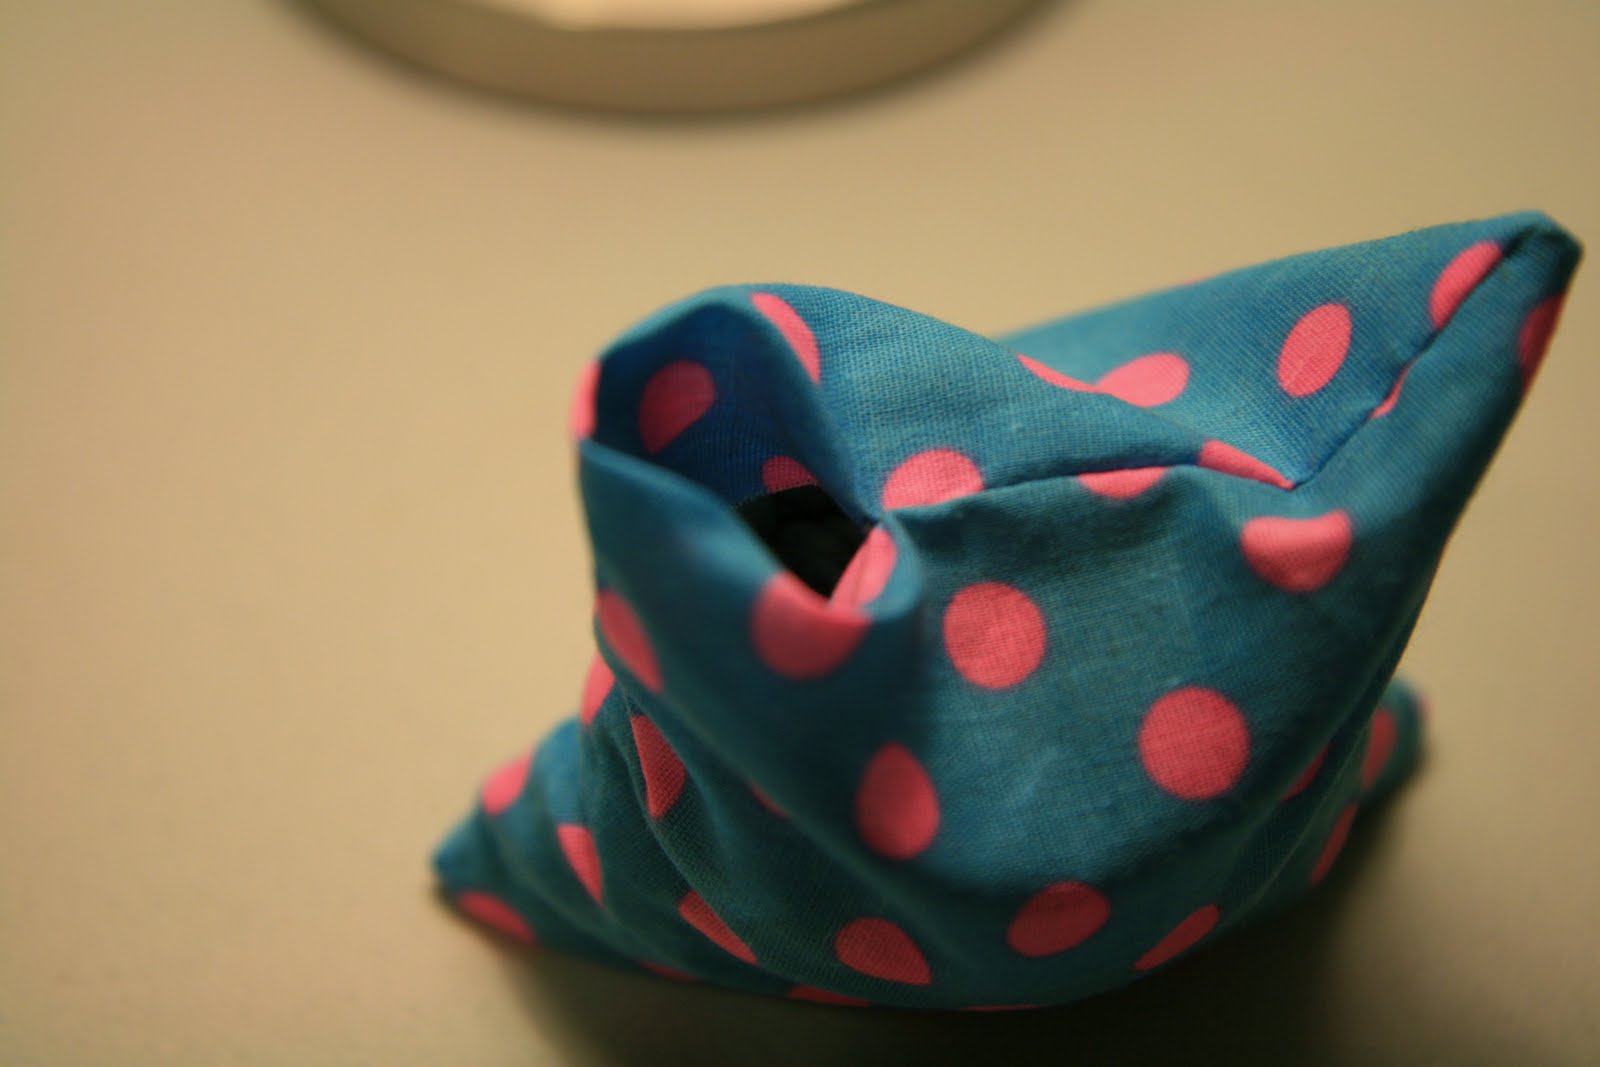
I began by choosing some scrap fabric that seemed worthy of bean bag material. You can see that I didn't have a ton of this material, but it was just enough for a few 4" bean bags!


I turned the fabric inside out and sewed around all sides, leaving a small opening at one end.


I turned the fabric inside out through that small hole and then filled it with about 1 c. of beans.


I was debating using beans or lentils, but ultimately went with dried beans.


I stitched the opening shut by hand. Nothing too fancy, but I did make sure my stitches were small enough that beans wouldn't escape!


I can't wait to play with these bean bags!

Friday, November 4, 2011

November 4 - Decorative Table Runner

The holidays are approaching, and I wanted to try my hand at a Christmas table runner!

I began by using some scrap fabric to sew a long table runner.


I found some old silver paint from a project YEARS ago, and chose a stamp with a simple image. I applied the paint to the stamp with a small brush and realized I had to put it on thick, especially the first time.


I stamped the images in a triangle pattern so it would seem more random.


I had to keep telling myself that the stamp doesn't have to be perfect on the fabric. That's what gives it character! Notice that this particular stamped image did not receive an equal amount of paint. That's okay!


A few helpful tips if you do this project:
  • Wash your fabric before beginning.
  • Place newspaper under your fabric to protect your work surface.
  • Move quickly after you have begun applying paint to the stamp. It dries quickly and can gum up the stamp, diluting the image.
I am considering making cloth napkins and a serving basket liner to match. I have more red fabric and this project didn't take long at all! I guess you'll see in days to come if I end up doing either of those! :)

Thursday, November 3, 2011

November 3 - Shower Curtain Bling

I am quickly developing a healthy lack of respect for scrap fabric. It's freeing to know that I am not working with a brand-new-purchased-from-the-store piece of material. I can make mistakes and lose nothing. I am loving this.

Today's project was inspired by an idea I saw in the magazine Real Simple. I could have used them to replace our shower curtain rings, but I decided to add the fabric to what was already there.

I chose a large piece of scrap fabric that matched our bathroom decor. This was an old couch cushion cover.


I started cutting it into long strips, about 1" wide. I needed 12 to fill each hole in our shower curtain.


I strung them through the holes at the top of the curtain, making sure to only go through the decorative shower curtain. I wanted to make life easier for me when it was time to wash the liner!


I trimmed the ends at an angle after I had finished.


And here's the big reveal!

Wednesday, November 2, 2011

November 2 - Work Apron

This project is amazing because of how simple it is.

I was preparing for my big craft show last weekend, and I desperately wanted to do away with my cash box. I wanted a pocketed apron to organize my bills and make change quickly. I was trying to piece together some sort of apron when Zac had a brilliant idea. He said, "If only you had a long-sleeved shirt, you could just fold up the bottom and use the arms to tie it around your waist." Brilliant. And what was even more brilliant was that I had an old long-sleeved shirt in my scrap bin.

Here is my well-loved shirt. It might look decent still, but what you can't see are the holes in the armpits, the sleeves that are about 5 inches too long, and the hole on the belly from where the fabric rubbed against my jeans! See, I'm justified in retiring it from my wardrobe! :)


I began by folding up the bottom and lining up the edges.


I pinned the edges, then sewed the pocket inside-out. After I had the large pocket completed, I flipped it over and divided the pocket into 3 smaller pockets. I stitched right on top of the fabric for this, going almost all of the way up to the top of the pocket. I stopped about 1-1.5" from the top.


Here is the finished product:

And me trying out my modeling career:

Other uses for this project include:
1.) Craft apron for kids, loaded with pencils, crayons, and markers.
2.) Washing windows outside - load up your belt with a rag or paper towels and put your windex in another pocket. Then your hands are free to climb the ladder and you have all your materials with you.
3.) Planting your garden - keep your seeds in the pockets until you need them, which will keep your hands free for turning up the soil.

Thanks for your innovation, Zac! This is a keeper!

Tuesday, November 1, 2011

November Blog Series - It Begins!

A few weeks ago I hinted at what my November blog series will be and today I'm excited to share with you that I will be blogging daily in November on new ways you can reuse old fabric. There will be all sorts of practical, unique, fun, and creative ways that you can keep your old clothes from going into the trash and finding a new purpose in your life.

I'm absolutely jazzed about this project for a variety of reasons:
1.) It is going to challenge me to post daily (except Sundays)
2.) It will push the limits of my creativity
3.) It will require ME to actually reuse fabric rather than just think about it
4.) It tackles one of the 3 R's that gets little attention (Reduce, Reuse, Recycle)
5.) It hits on one of my passions from my life mission statement exercise
Join me on this adventure! Start by gathering all your scrap fabric in one location. This can be pieces as small as a paperclip or as big as a bed sheet. We'll use them all! If you don't feel like you have scrap fabric, go through your closet and begin pulling out clothes you no longer wear. If any of them are in good condition, drop them off at a thrift store. If some have holes or are very worn, set them aside for this month's projects!

Oooh! We're going to have so much fun! I can't wait to do this with you!